We are Art Teachers… which means our bulletin boards should all be masterpieces right?! Uh no.. think again! Creating a bulletin board is tricky to say the least.. I mean stapling up a huge sheet of roll paper that is double the size of you without wrinkling the paper, making sure your letters are on perfectly straight AND centered, and trying to find one of those “cutesy” pre-made boarders that match or that you even have enough to piece it together to fit all the way around!? Give me a break! I teach in 2 buildings so I have a total of 8 bulletin boards, and that doesn’t even count the ones in the hallway that display student work!
I really struggle with coming up with a THEME for each board that is actually relevant to Art Education and our curriculum, we don’t want just “stuff” posted up that isn’t useful to us.


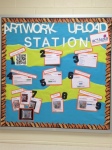
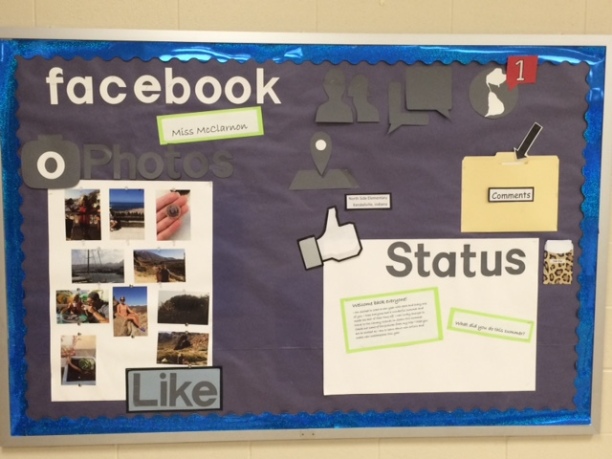
Generic bulletin board to display student work

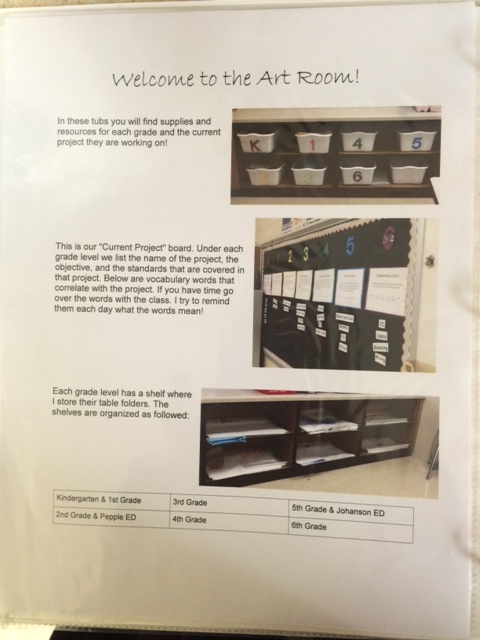
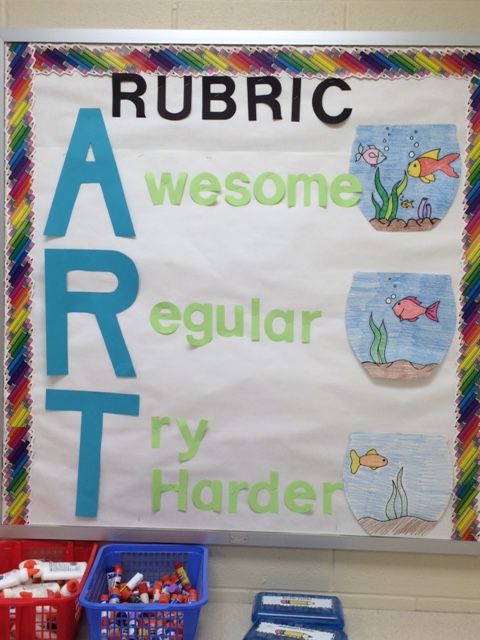
Lesson Board includes: Objective, Standards, and key words for each grade level’s current project

Artist of the Month
So tell me! What do your bulletin boards/ displays look like?! Post pictures if you can!


Recent Comments